Raw Edit 012: How i edited an explosive landscape photo

In today’s episode / free Affinity Photo Tutorial I will show you from start to finish how I edited a RAW explosive landscape photo that I took during a thunderstorm!
Hello everyone!
In today’s free Affinity Photo tutorial, we will get thunderstruck!
Why? Well, because I am going to show you my step by step, from start to finish editing workflow of a RAW file that is full of energy and light!
As always, I will start in the Develop where I will do some much needed adjustments in order to take full advantage of my RAW file once I am done, I will continue editing the photo in Affinity Photo.
This workflow is 100% nondestructive and you will be able to customize it in order to fit your very own style of shooting and editing.
Skills you will learn:
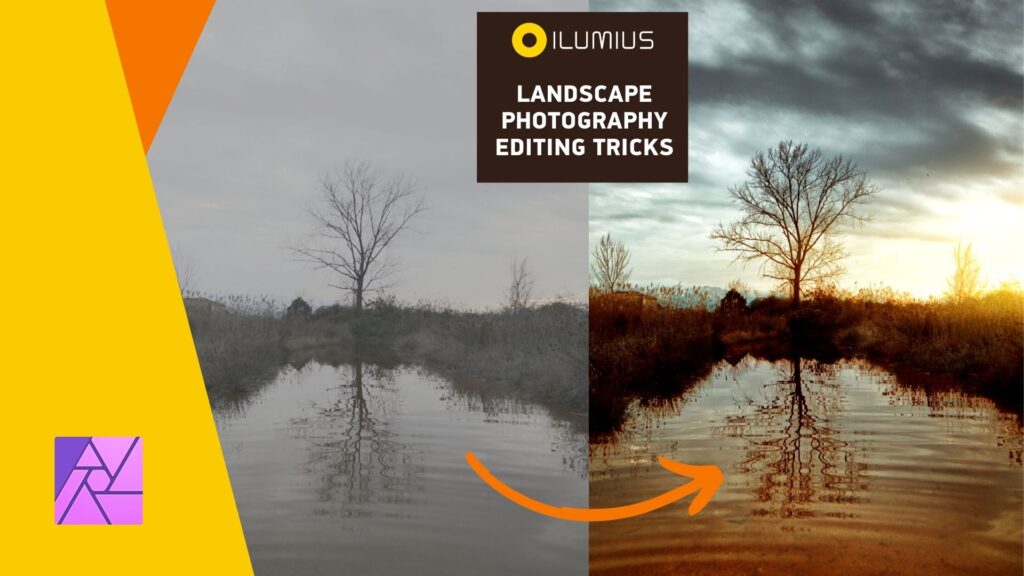
- How to normalize the light in a photo with a bright subject
- How bring hidden details to the surface
- How to reshape light
- How to create a cinematic image
- How to create a vignetting to draw the viewers eye to your subject
- How to use the Curves tool for multiple adjustments that will level up your photos
- And many more
Enjoy!

DO YOU WANT A FREE AFFINITY PHOTO COURSE THAT WILL BLOW YOUR MIND?
If you like this tutorial you will LOVE our full FREE course on how to create cinematic black and white portraits with Affinity Photo. Grab the FULL course for free by clicking here.


Responses